Half the Sugar Baker
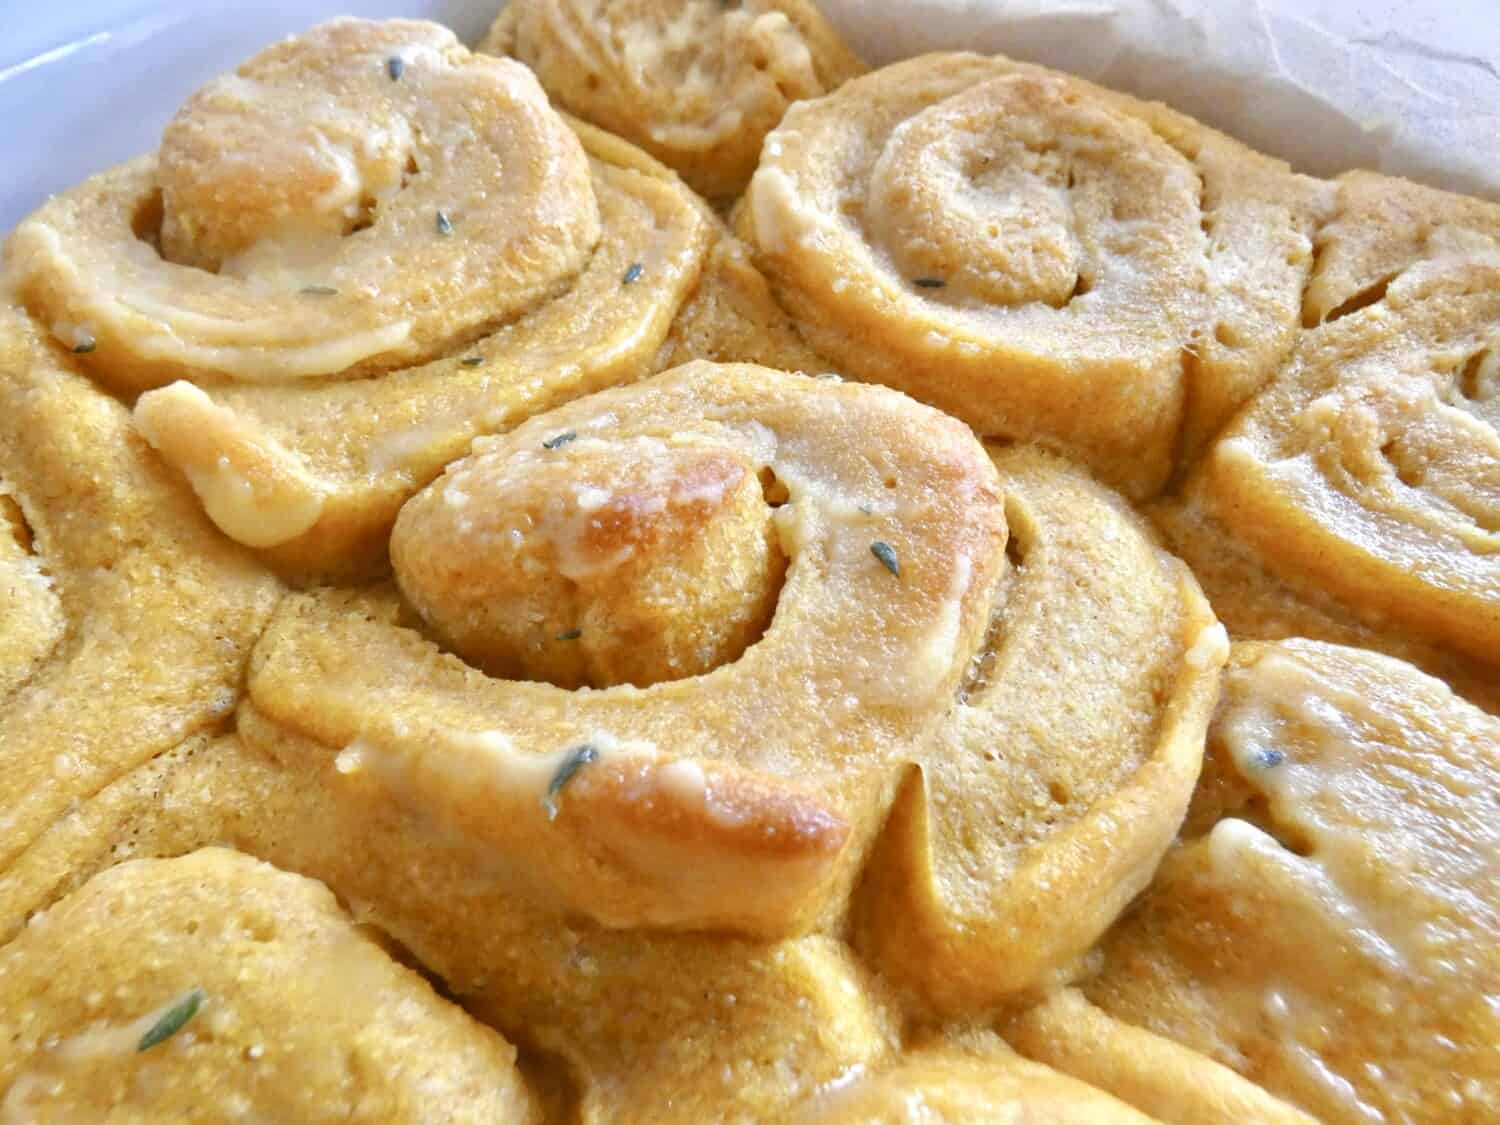
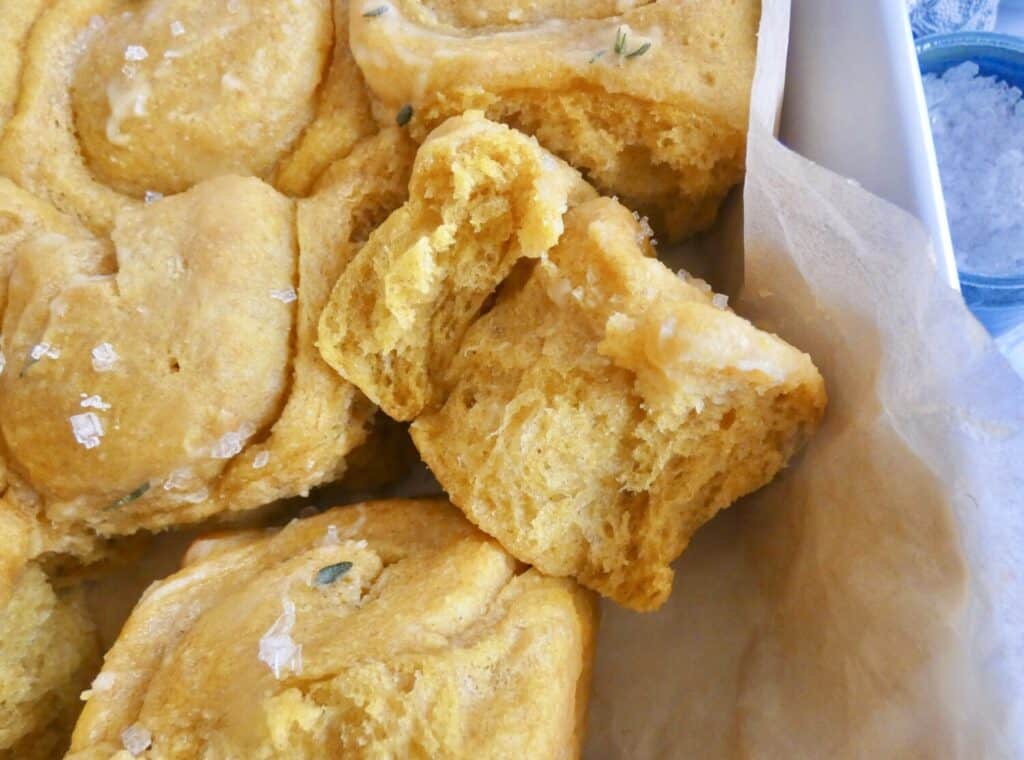
This might be my craziest creation yet, it depends who you are. If you are a die hard cinnamon roll lover, the idea of skipping the cinnamon in these rolls might seem illegal, but I promise these rolls will not disappoint. They are the best dinner rolls ever and also a delicious breakfast. They have that amazing fluffy texture and pull apart layers just without the cinnamon. I even included a garlic version for those of you who want to spice things up!
I came up with the idea for these rolls after I made cinnamon rolls (they were delicious). When my mom tried one, she said she loved the bread part but she just wasn’t a fan of cinnamon in general. I wondered what would happen if I just made the rolls, but skipped the cinnamon. It seems like such an easy switch, but I hadn’t thought of it until then! These no cinnamon-dinner rolls were delicious and had that perfect texture. I cut the sugar in the dough and brushed it with some butter and flaky salt to make it the best dinner roll ever. My mom LOVED them.
Most of the steps for these rolls are the same as my cinnamon roll recipe. The difference comes when you would traditionally add the cinnamon-sugar mixture to the rolled out dough. For these rolls, you spread the softened butter on, but not the cinnamon mixture.
Whether you like classic cinnamon rolls or not, give these a try and I think you will fall in love with them too! You can find my pumpkin pie cinnamon roll recipe here!
Tips + variations:
This dough starts with yeast which we bloom in some warm milk. It’s important that your milk is at the right temperature. If it is too hot, it could kill the yeast, and if it’s too cold, it could make your dough rise super slowly. The best temperature is 110-115º F. I prefer to use a thermometer to find the temperature because it is the most accurate way, but you could also test using your finger. The milk should be warm but not scalding hot.
It is also important that your other ingredients are also warm or at room temperature for the same reason. For example, your melted butter should be warm or room temp. If it is too hot, it could kill the yeast!
This dough is also made with all purpose flour and whole wheat flour. I like to use a combination for the best texture and extra fiber from the whole wheat. You can definitely substitute all purpose flour for the whole wheat flour, if you would like. You can also use bread flour for an even fluffier texture!
I don’t have a stand mixer so I make this dough completely by hand. The best method I have found for kneading dough is to set a timer for however long you need to knead for. This is because it’s super easy to under knead dough (time seems to slow down when you are kneading by hand). Setting a timer makes sure that you are kneading for the right amount of time!
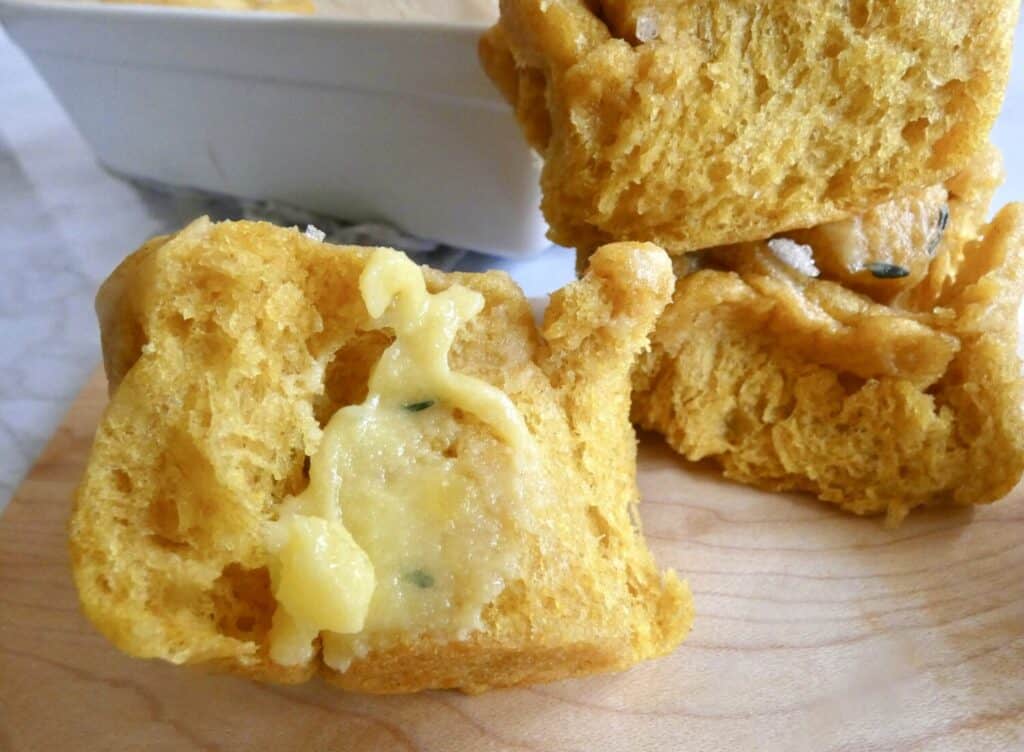
For the butter filling, I have two variations, but regardless of which one you choose, it’s really important that your butter is softened! If your butter is too cold, it will not spread on your dough and you’ll end up with butter chunks. If your butter is melting, it will ooze out of your rolls and create a mess. You want it to be soft, but not melted.
The two variations are plain, which is just salt and butter, and garlic, which is roasted garlic, salt, and butter. Both are super delicious!
If you are making the garlic filling: take your roasted garlic and mash it with salt in a small bowl. Since it is roasted, it will be super soft and make a puree texture. Then add your softened butter and mix together.
For the roasted garlic: Peel one clove of garlic and drizzle with oil. Then wrap up the whole clove in aluminum foil and roast in an oven at 400ºF for 15-20 minutes. Then carefully unwrap the garlic and let it cool to room temperature.
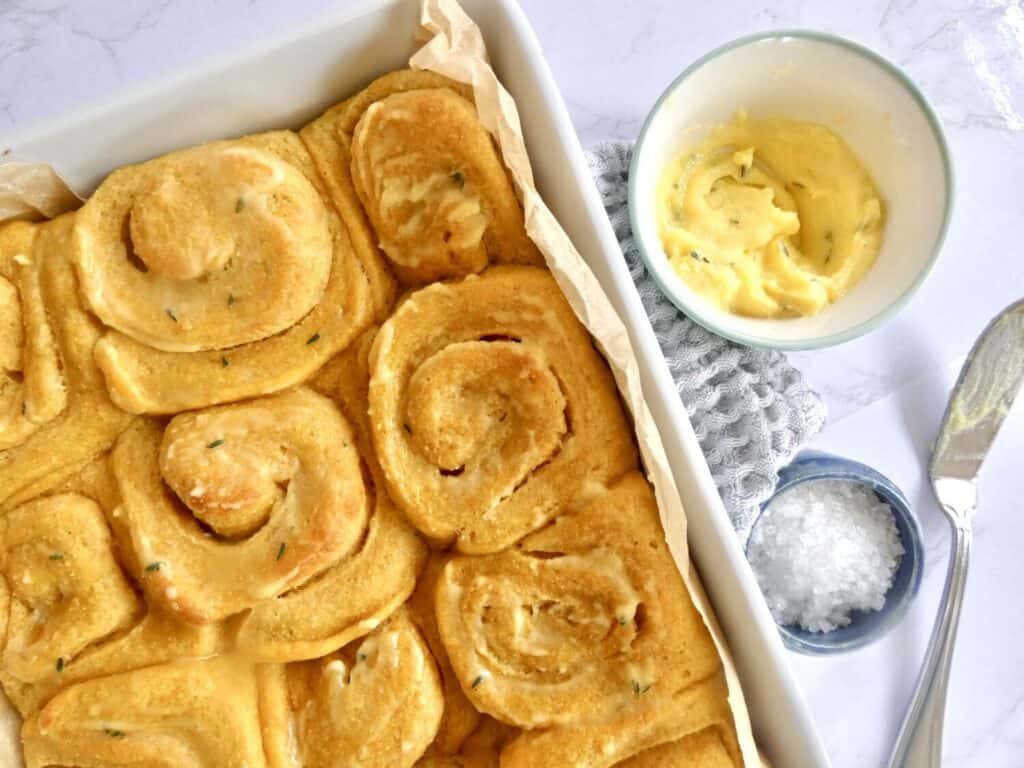
I also like to brush these rolls with some butter when they are done baking, which gives them a really nice shine. You could use plain butter, but if you want to add a little more flavor, you can use honey butter. You could also try adding some spices like rosemary or thyme to your melted butter!
Finally, I like to top my rolls with a little flaky salt. You could also use plain table salt or skip it all together!
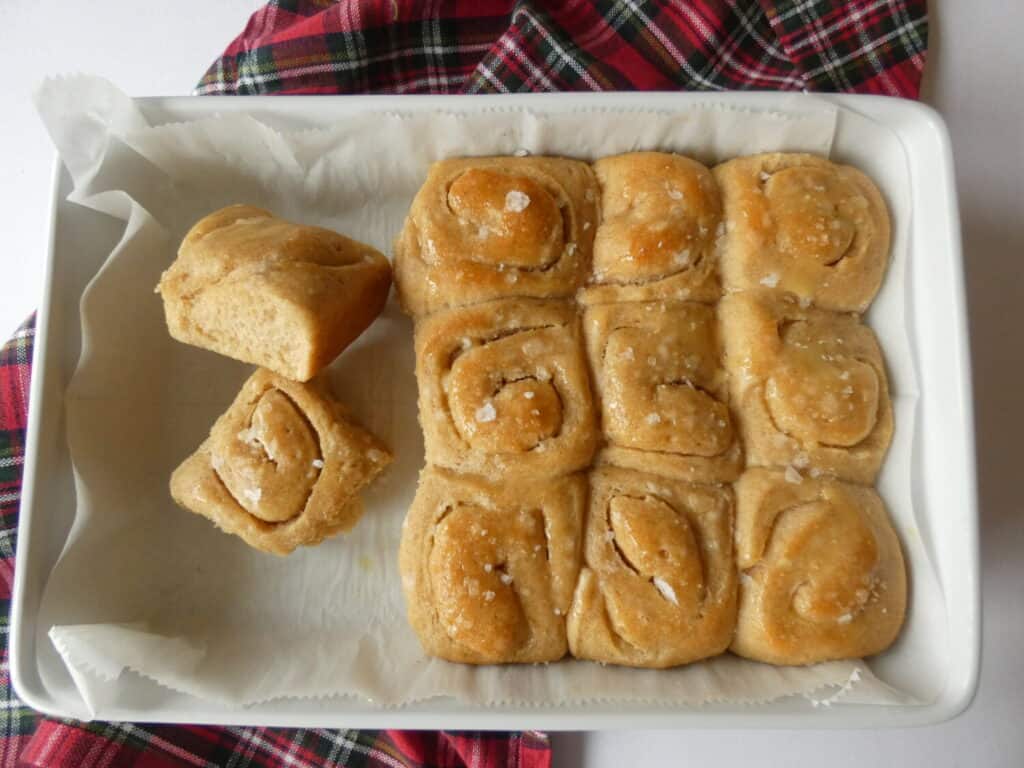
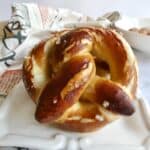
No Cinnamon-Cinnamon Rolls (Dinner Rolls)
Ingredients
For the dough:
- ½ cup warm milk (110ºF)
- 2 ¼ teaspoons quick rise or active yeast ¼ oz package
- 2 tablespoons granulated sugar
- 1 egg + 1 egg yolk room temperature
- ¼ cup melted unsalted butter
- ½ cup pumpkin puree or sub milk
- 2 cups all purpose flour
- 1 cup whole wheat flour or sub all purpose flour
- 3/4 teaspoon salt
For the plain filling:
- 1/4 cup butter softened
- 1/4 teaspoon salt
For the garlic filling (optional):
- 1/4 teaspoon salt
- 1 clove roasted garlic room temperature (see instructions in notes)
- 1/4 cup butter softened
For the honey butter (optional):
- 3 tablespoons butter melted
- 1 tablespoon honey
Instructions
- Microwave milk to around 110ºF. It should feel warm when you stick your finger in it but not hot. Pour the warm milk into a medium mixing bowl. Sprinkle the yeast on top. Let the yeast rest for 3-5 minutes or until it is foamy. Then add the sugar, egg, egg yolk, melted butter, and pumpkin puree. Mix until combined. Then add the all purpose flour, whole wheat flour, and salt. Using a wooden spoon or dough whisk, mix until the mixture begins to pull together and form a dough.
- Dump the dough onto a well floured work surface or use a stand mixer and knead the dough for 8 minutes. The dough will feel a little bit sticky but it shouldn’t stick to your hands. If the dough is too wet, add all purpose flour 1 tablespoon at a time until the desired texture is reached.
- After kneading, transfer the dough ball to a large bowl that is oiled. Cover with plastic wrap and let the dough rise for 1 to 1 ½ hours in a warm spot or until doubled in size.
- In a small bowl, make the butter filling: for the plain filling, simply mix together the softened butter and salt. For the garlic filling: in a small bowl, use a fork to mash the salt and roasted garlic into a puree. Then add the softened butter and mix until combined.
- Once doubled in size, dump the dough onto a well floured work surface and roll it out into a 18×8 inch rectangle. Spread the softened butter filling over the dough, leaving a ¼ inch border around the edge.
- Roll the dough tightly into a long log starting from the 18 inch side. Make sure the seam side is down. Using floss or a very sharp knife, cut the dough into 14-16 equal pieces. Line a 9×13 inch baking dish with parchment paper for easier clean up or grease well. Place the rolls into the baking dish cut side down.
- Cover the rolls with plastic wrap and let proof in a warm area for 30 minutes.
- Preheat your oven to 350ºF. Once the oven is ready, remove the plastic wrap and bake the cinnamon rolls for 20-25 minutes. They should be lightly golden when done. Once done baking, remove from the oven and let cool for 10 minutes.
- For the honey butter: Melt 3 tablespoons of butter and stir in a tablespoon of honey. While the rolls are cooling, brush on the mixture. Optionally finish the rolls with flaky salt and enjoy the rolls warm!


These are great! Right time for Thanksgiving!
Thank you for your review! I’m so glad you enjoyed them and they are definitely perfect for Thanksgiving!